Quickstart
This guide explains how to use CrocoTiger once deployed. For setup instructions, please refer to the Installation Guide.
My Projects
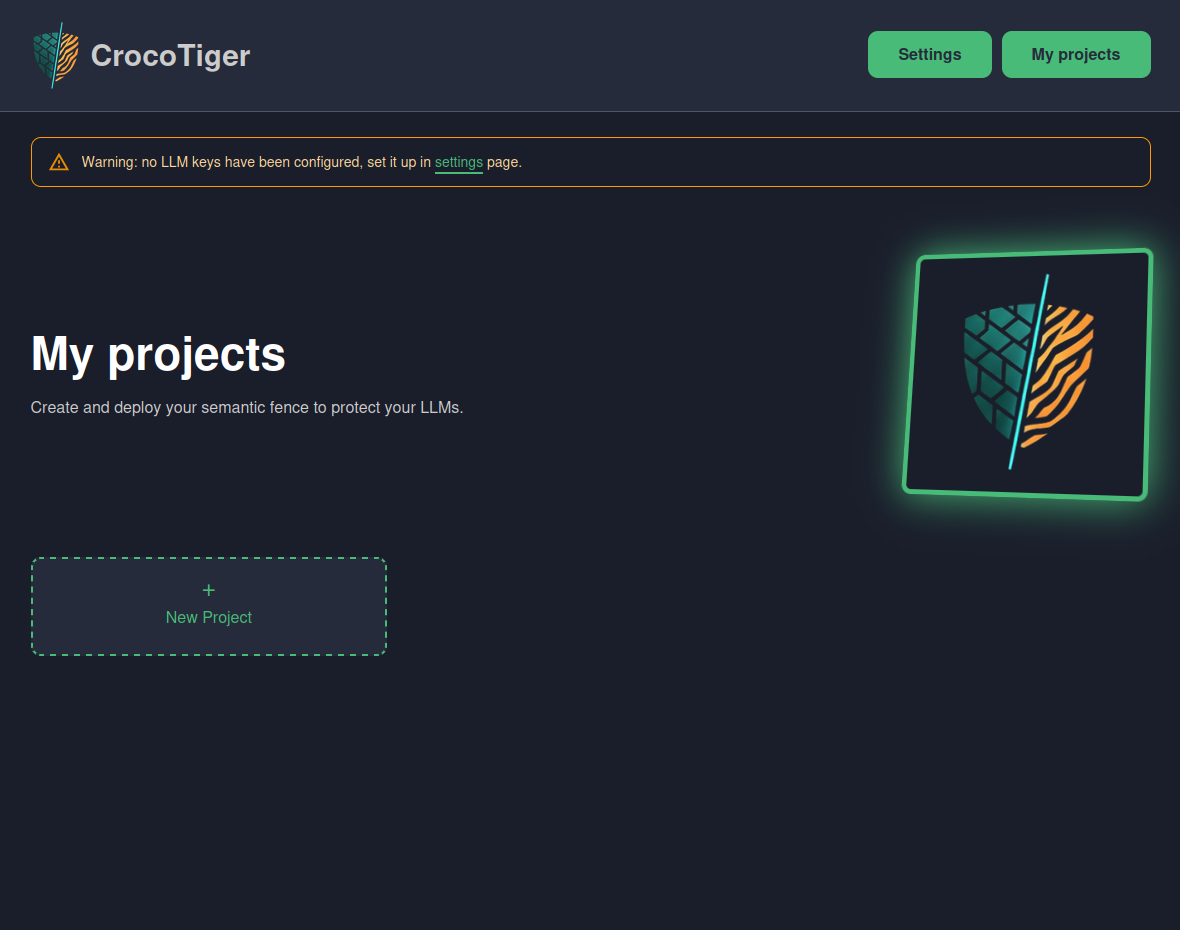
In the home screen you'll be welcomed by My Projects, a list of the projects you've created.
Configure Settings
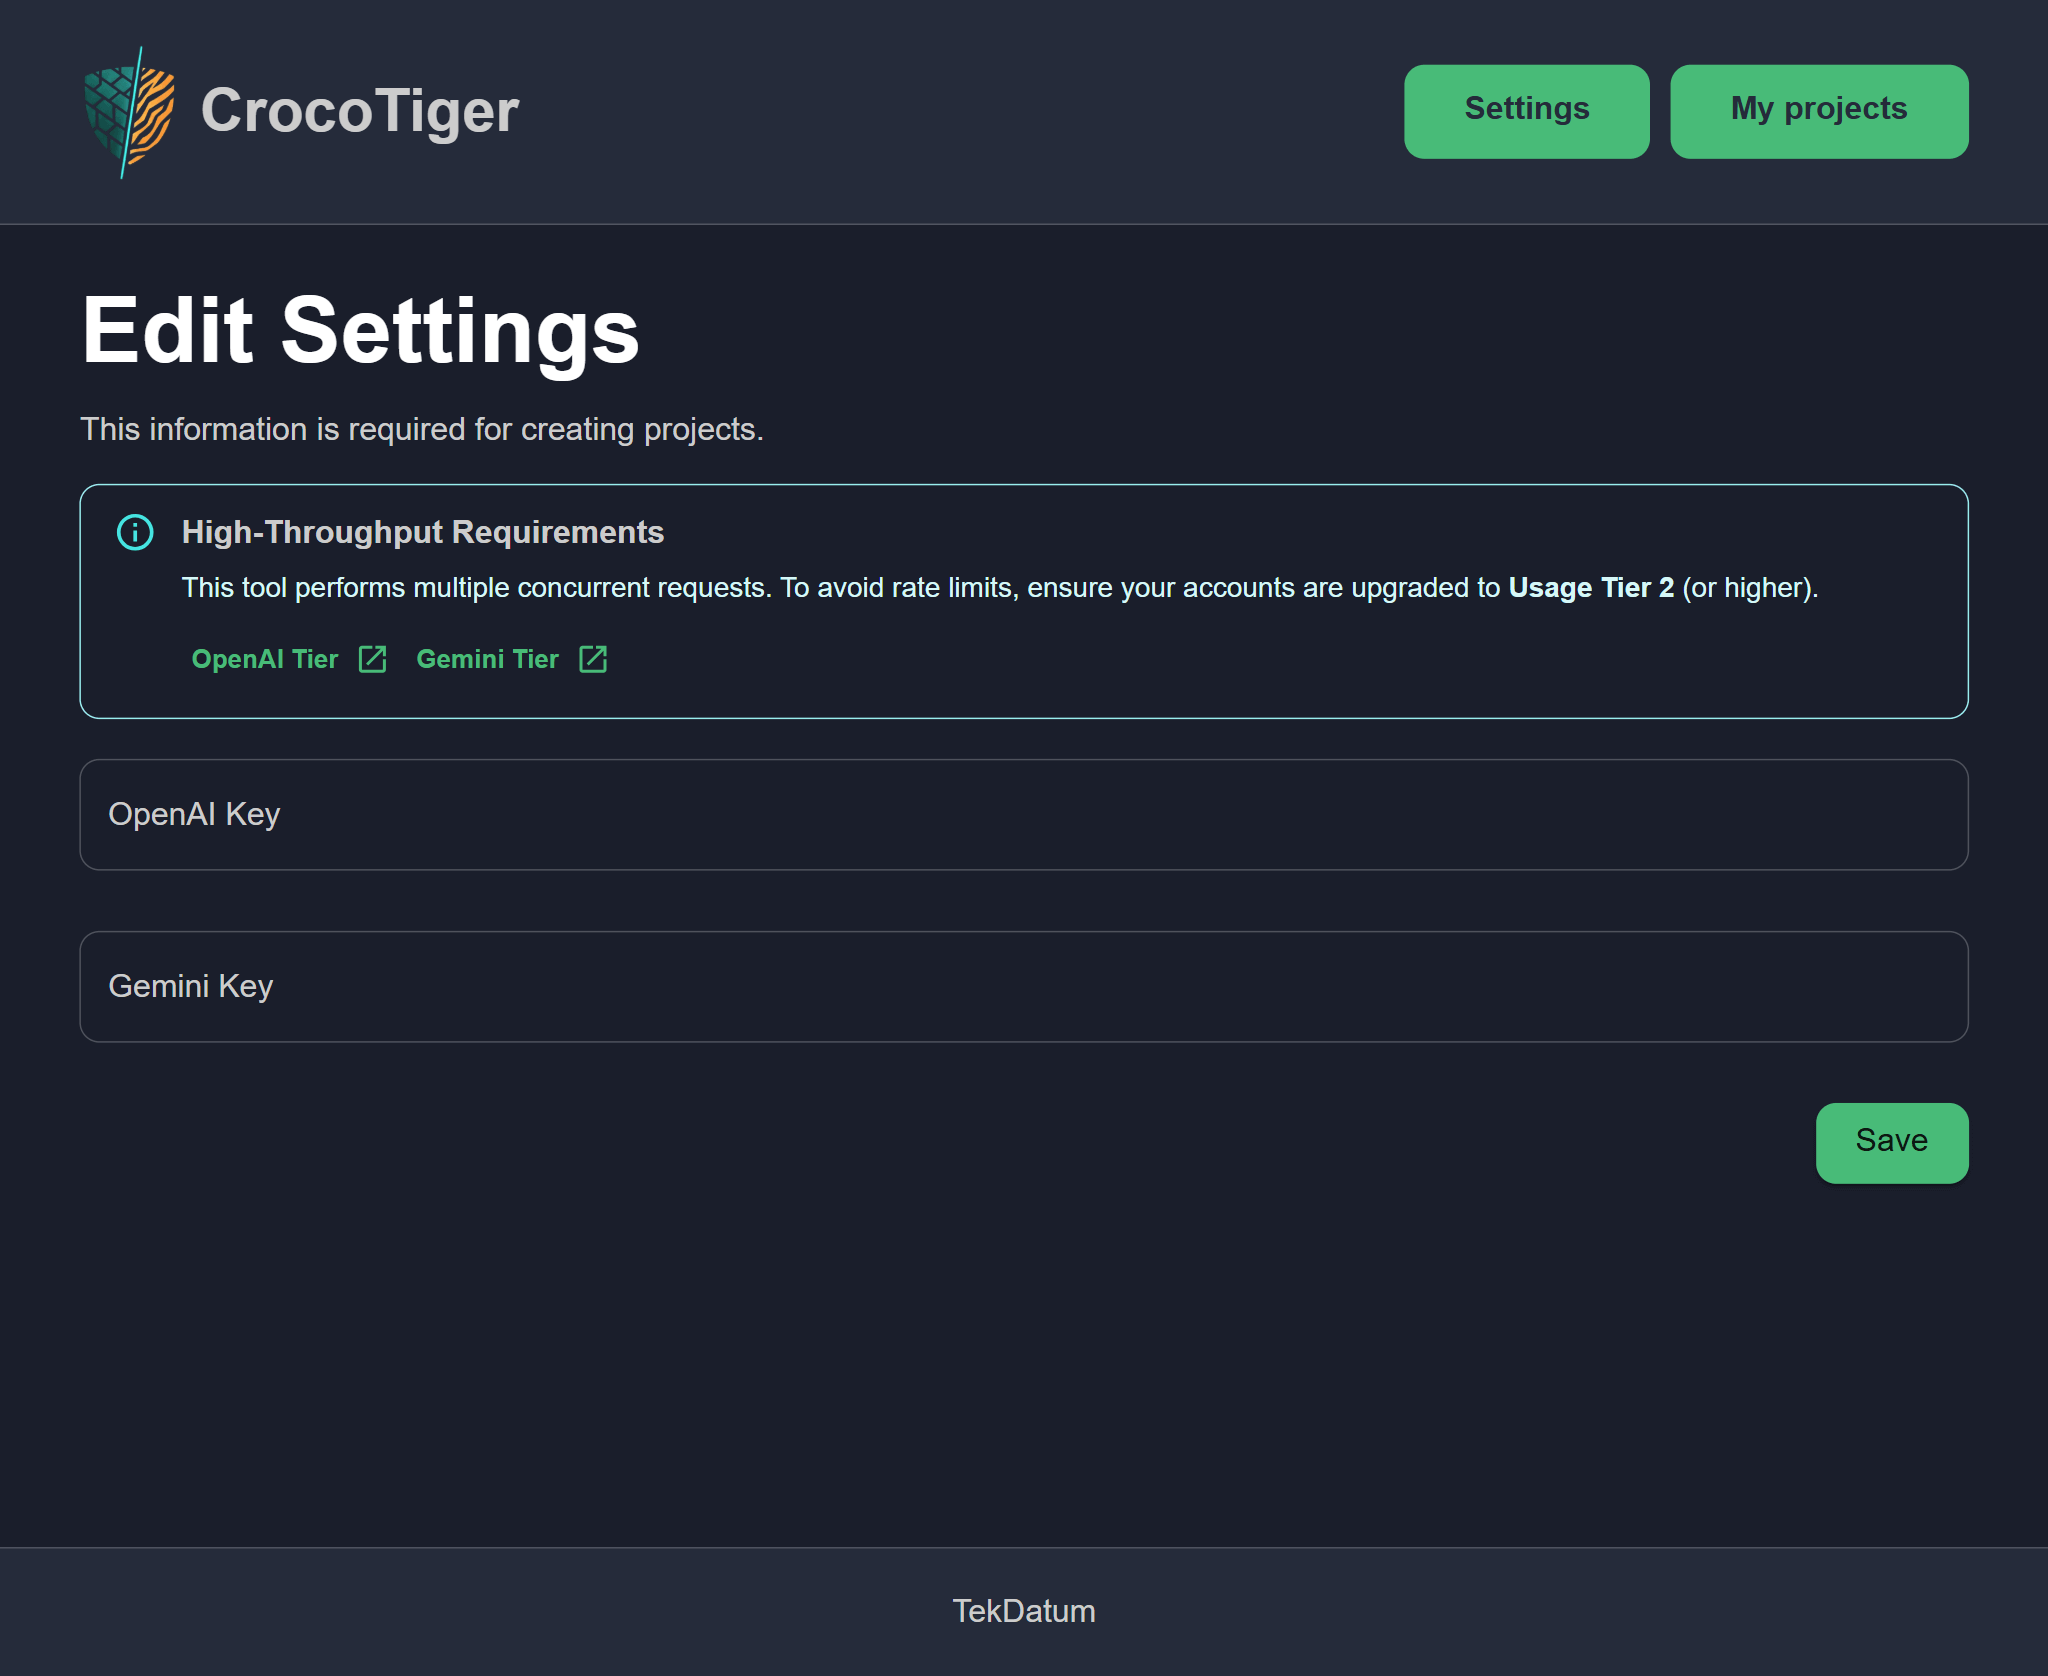
To get started, open the settings page and configure your API keys. These keys securely connect CrocoTiger with AI providers like Gemini or OpenAI, which will be used to generate data and train the created project. You must provide and Save a key for at least one service.
Create a Project
To create a new project, on the home page select New Project.
Provide details
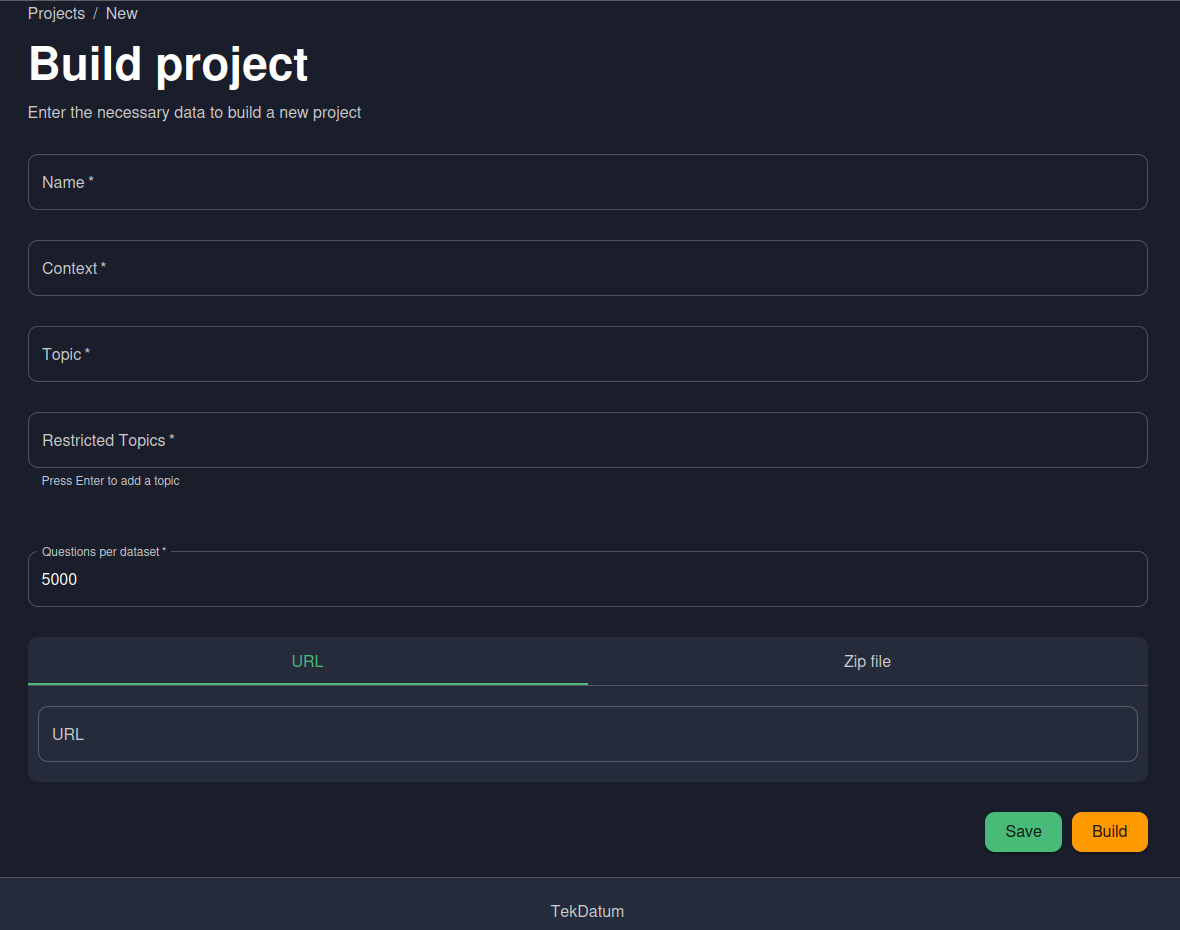
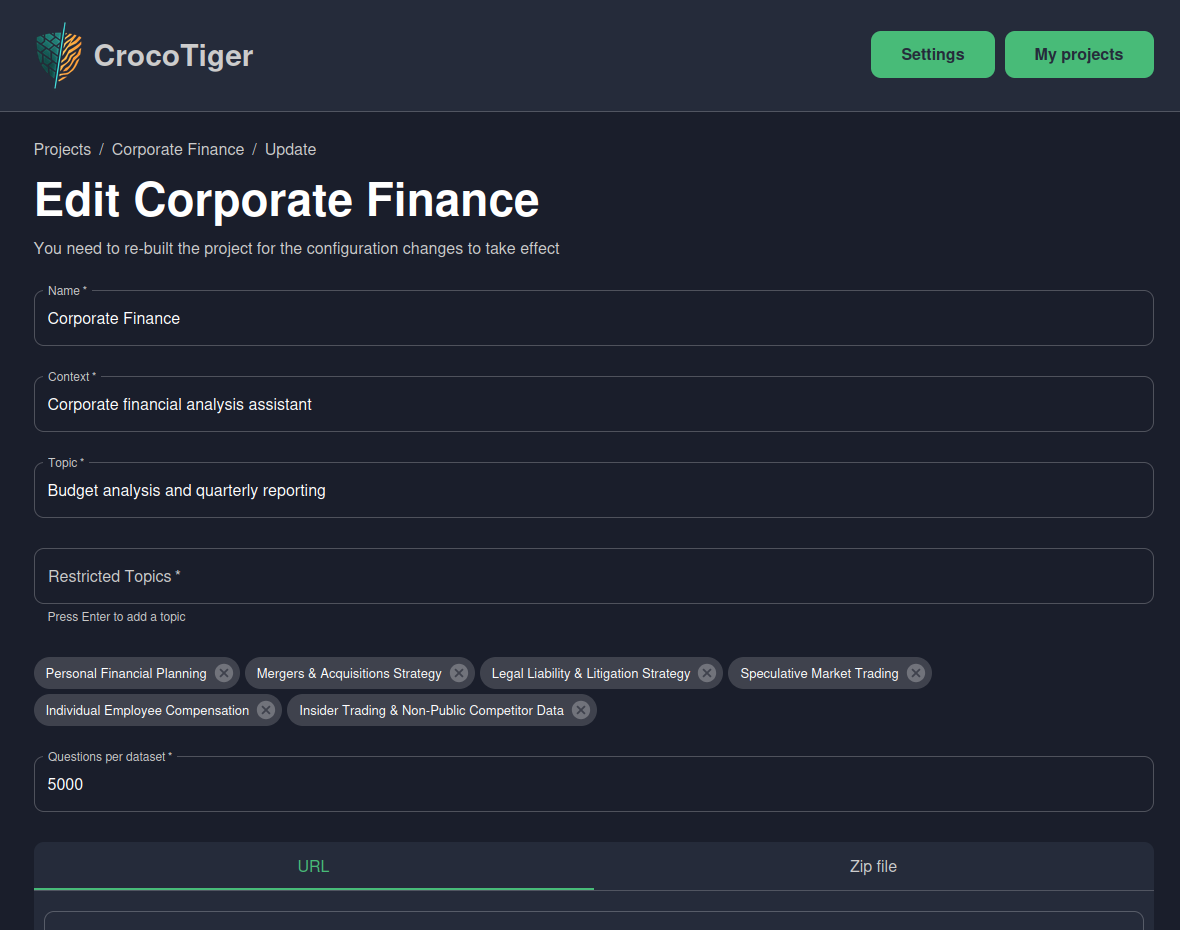
Provide the required information to define your project's identity and security boundaries:
- Name: A unique identifier for your project.
- Context: The general environment where the IA operates (e.g., 'Customer Support').
- Topic: The main allowed subject that defines the core of your semantic fence.
- Restricted topics (Optional): Specific subjects that should be explicitly blocked.
- Questions per dataset: Sets a limit on the number of questions that will be generated from the provided resources using the LLM keys.
- Model: The specific OpenAI or Gemini model to use for training and benchmarking. Available models are loaded from the system configuration. If the API key for the selected model is not configured, the system will warn you and block the build until it is resolved.
- URL or Zip file (Optional): Website or documents that CrocoTiger will use as its official knowledge base.
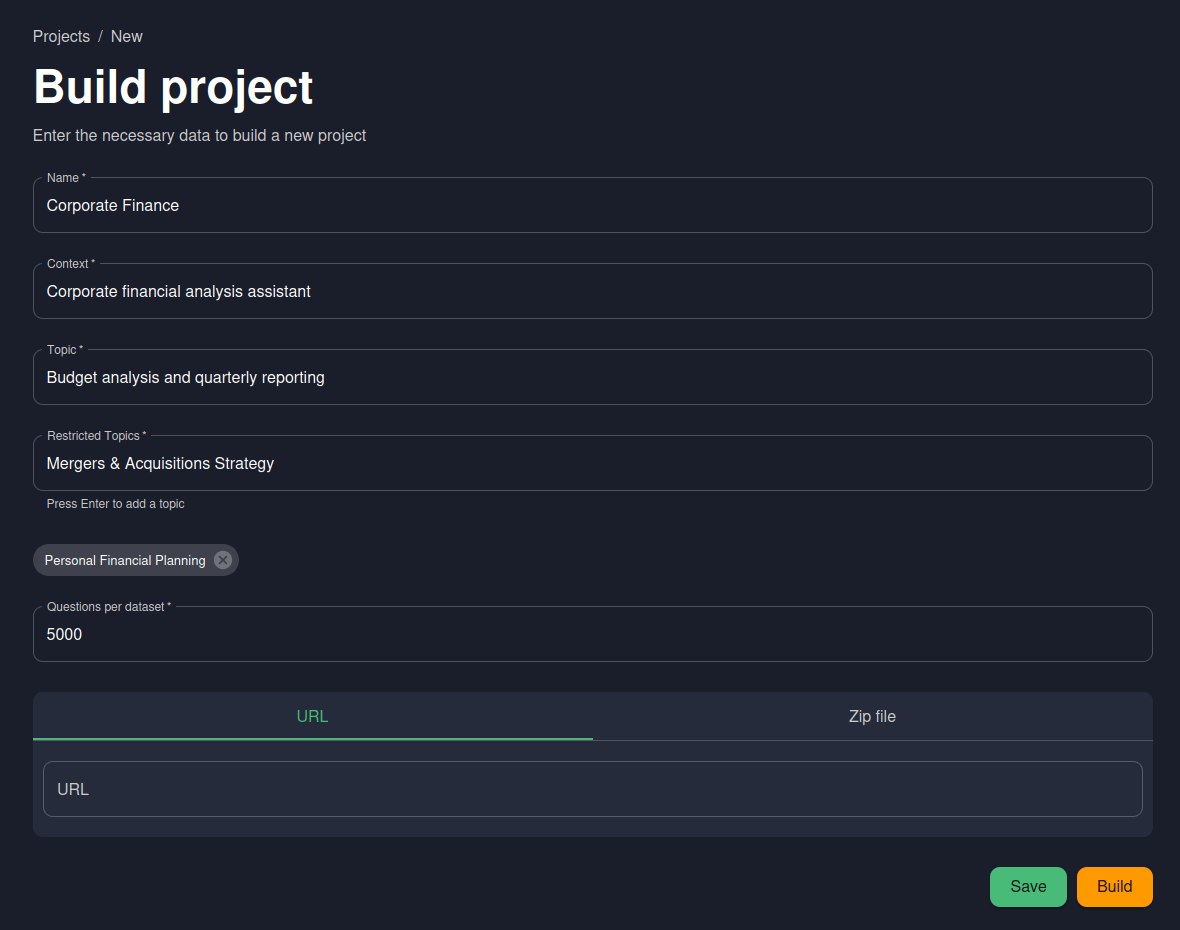
Build Project
Save the project and Build.
Project Overview
Once the project is built, you'll be taken to the project overview page.
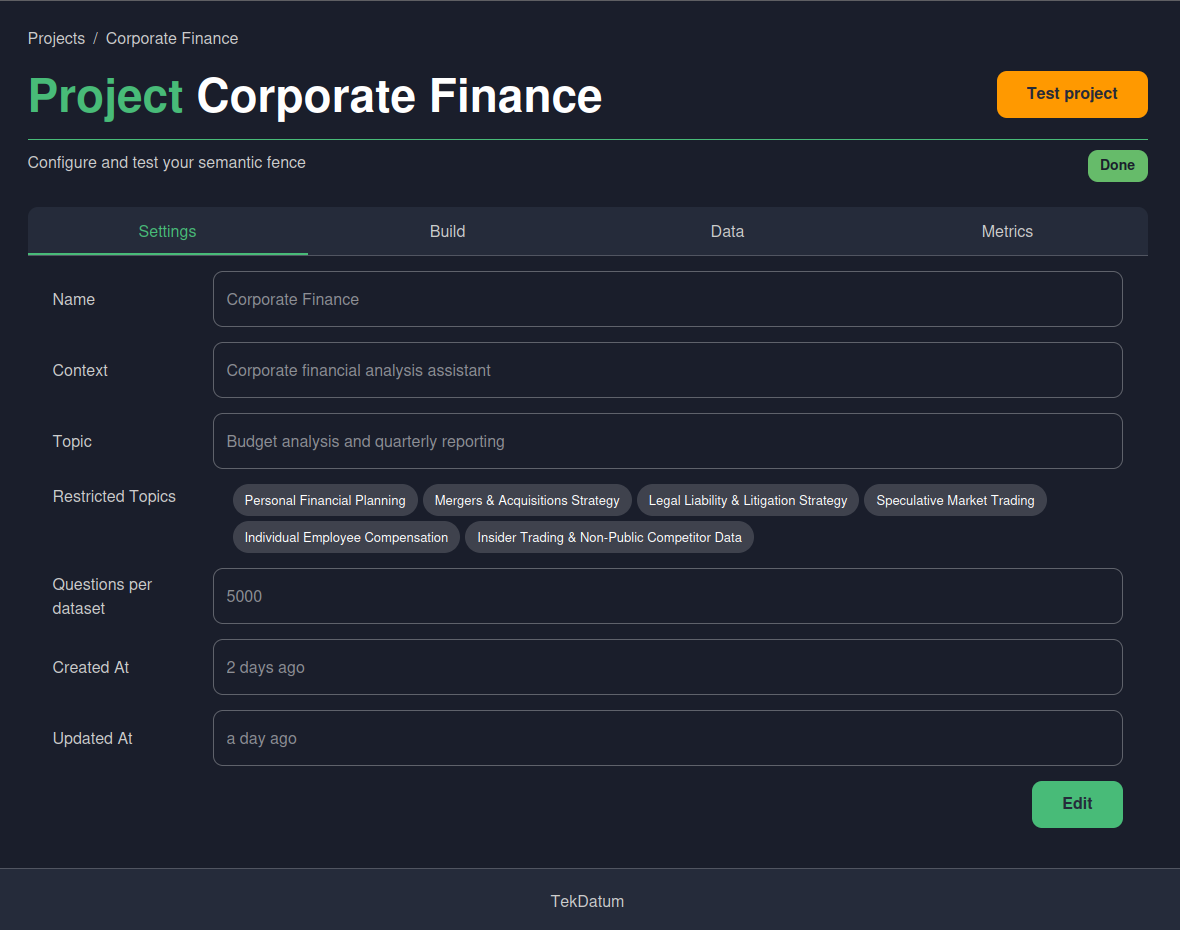
Project Overview (Build section)
On the Project Overview page, you'll see a Build section. It shows the project status, progress and logs. If a build is in progress, a Stop button is available to cancel it — you can optionally provide a reason. The build will be marked as STOPPED and the system will be free to start a new one.
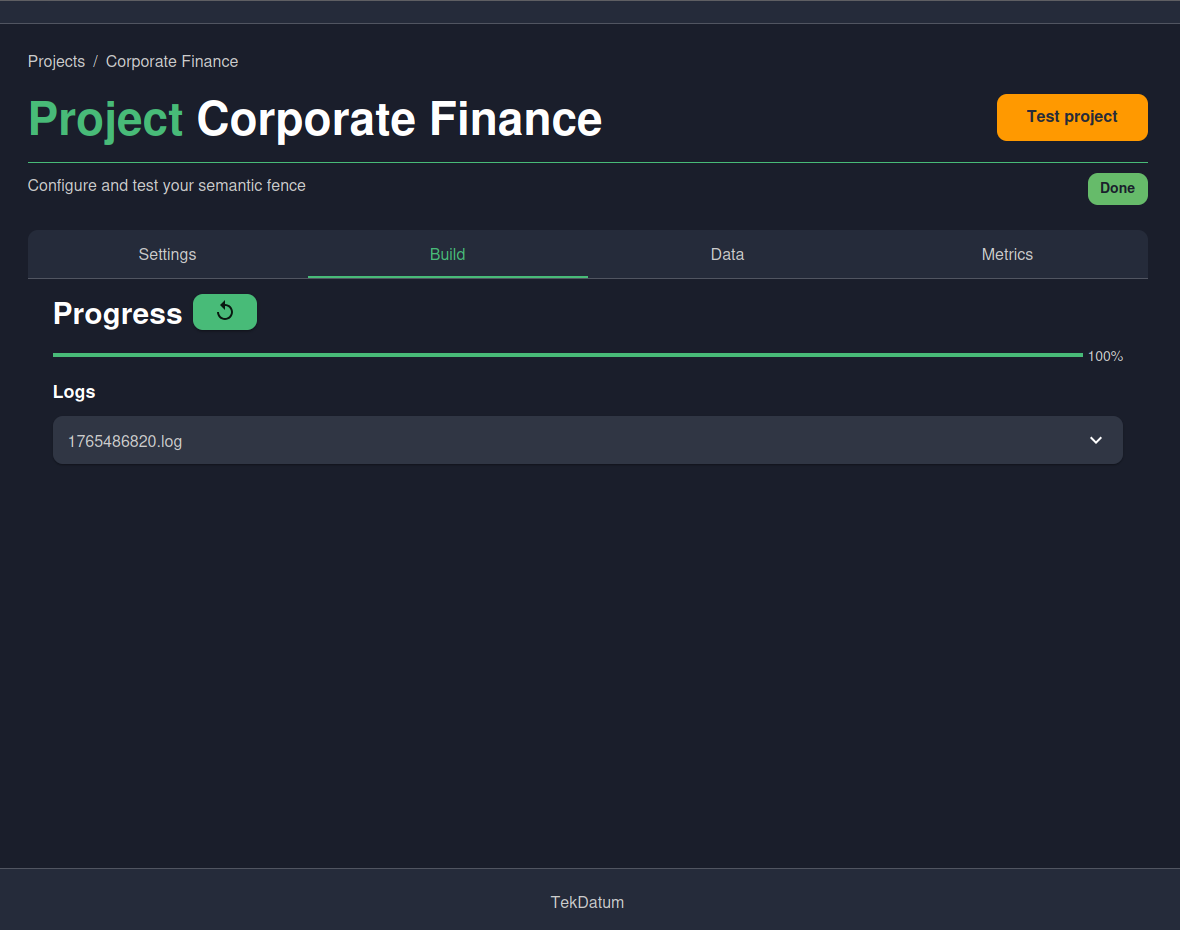
Project Overview (Data section)
The Data section on the Project Overview page displays the project's fence values, including the thresholds and lists for both acceptance and rejection.
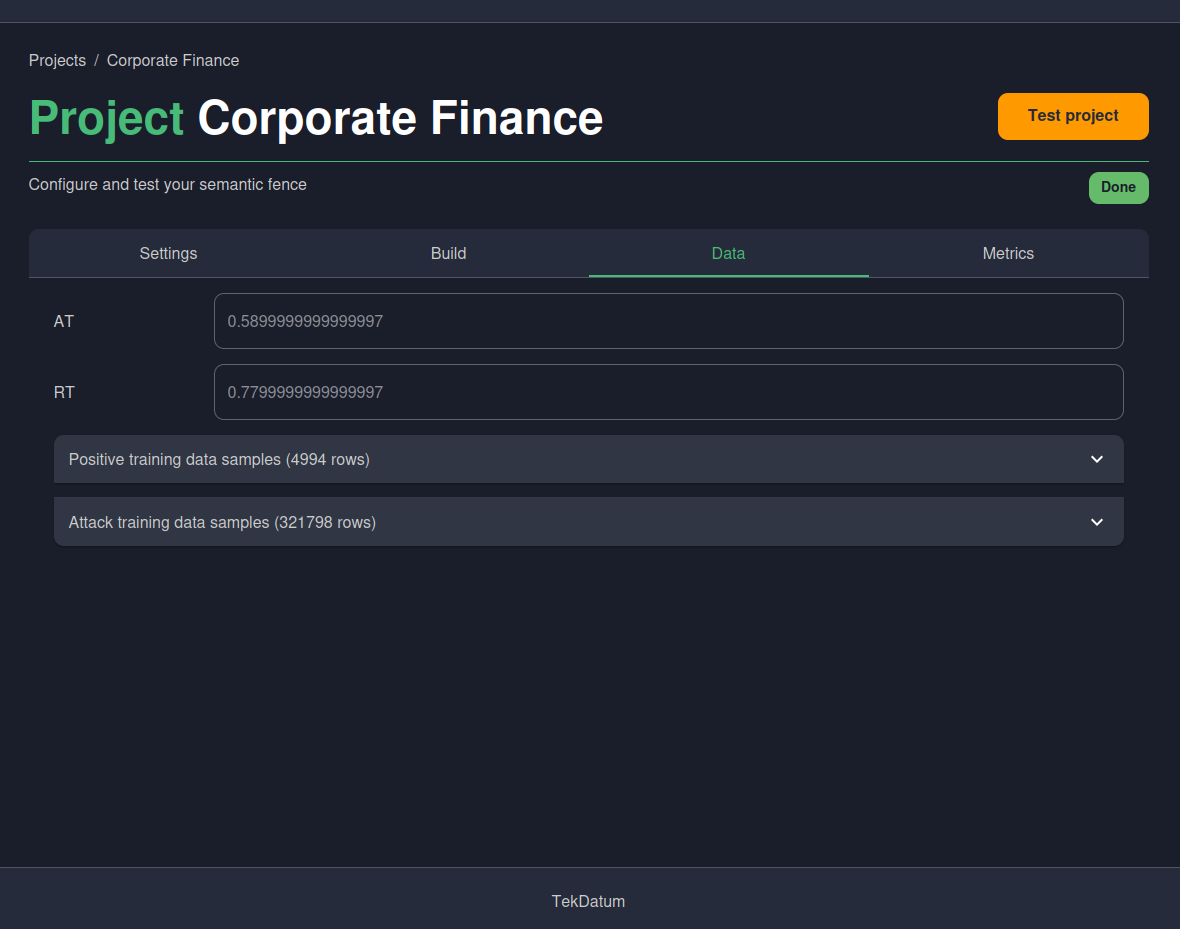
Project Overview (Metrics section)
The Metrics section on the Project Overview page displays performance summaries for both the training and testing benchmarks.
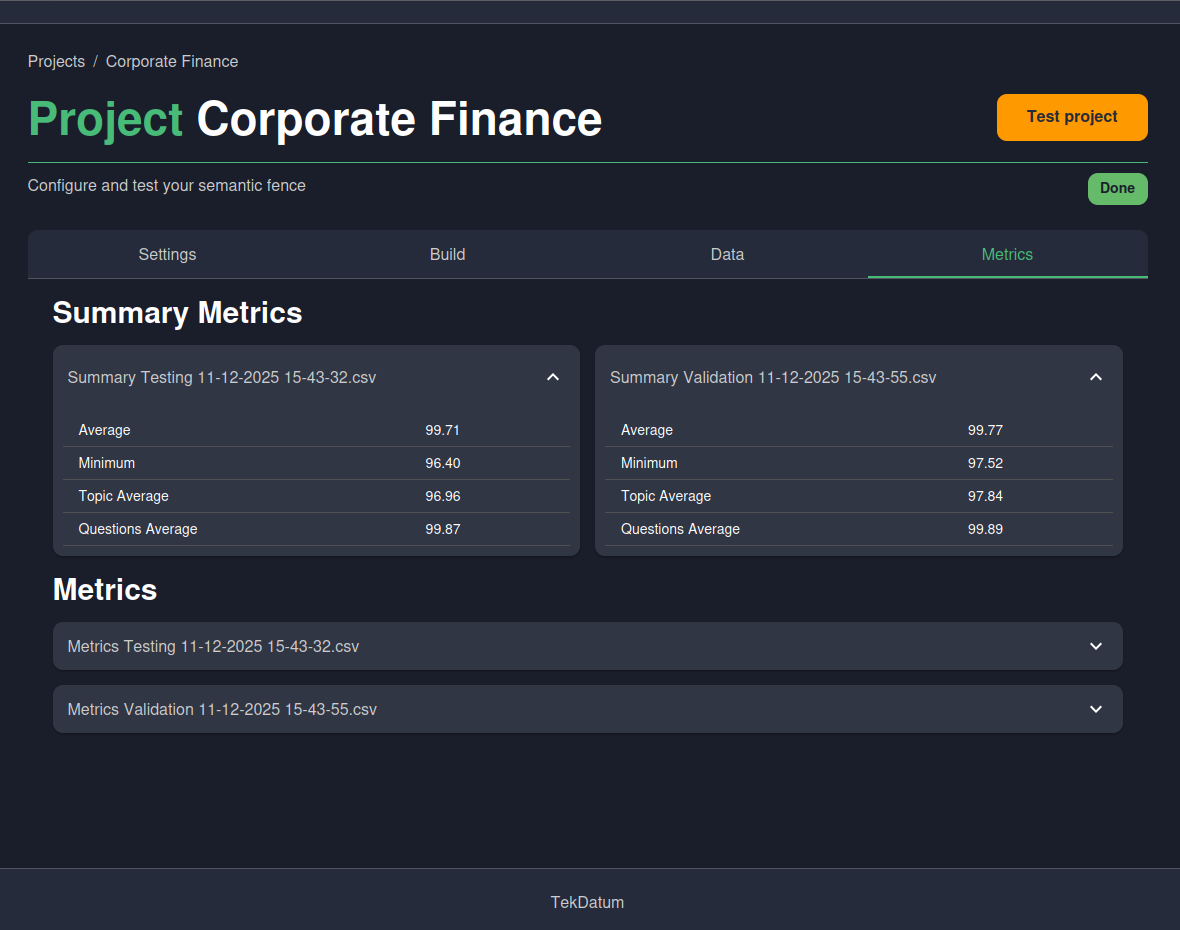
Testing Crocotiger
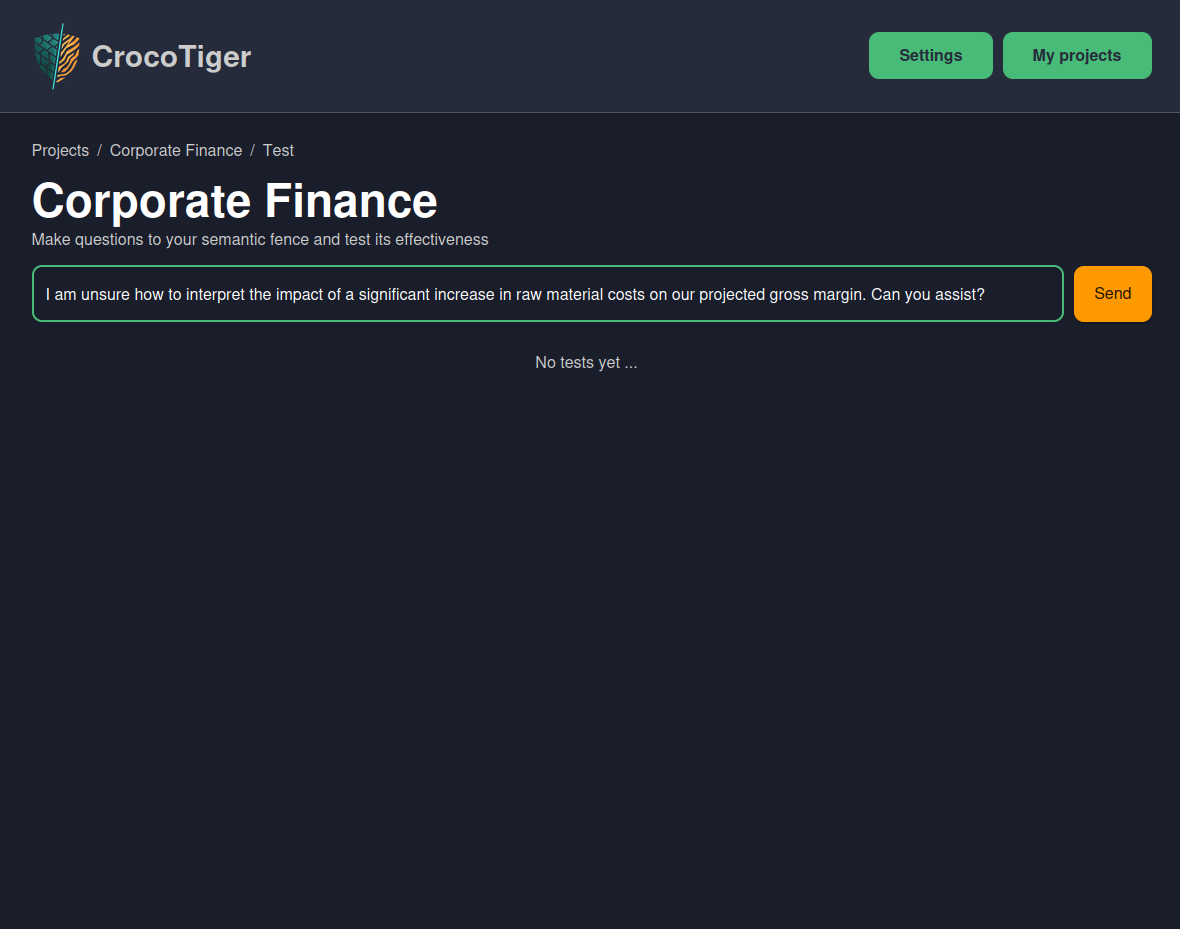
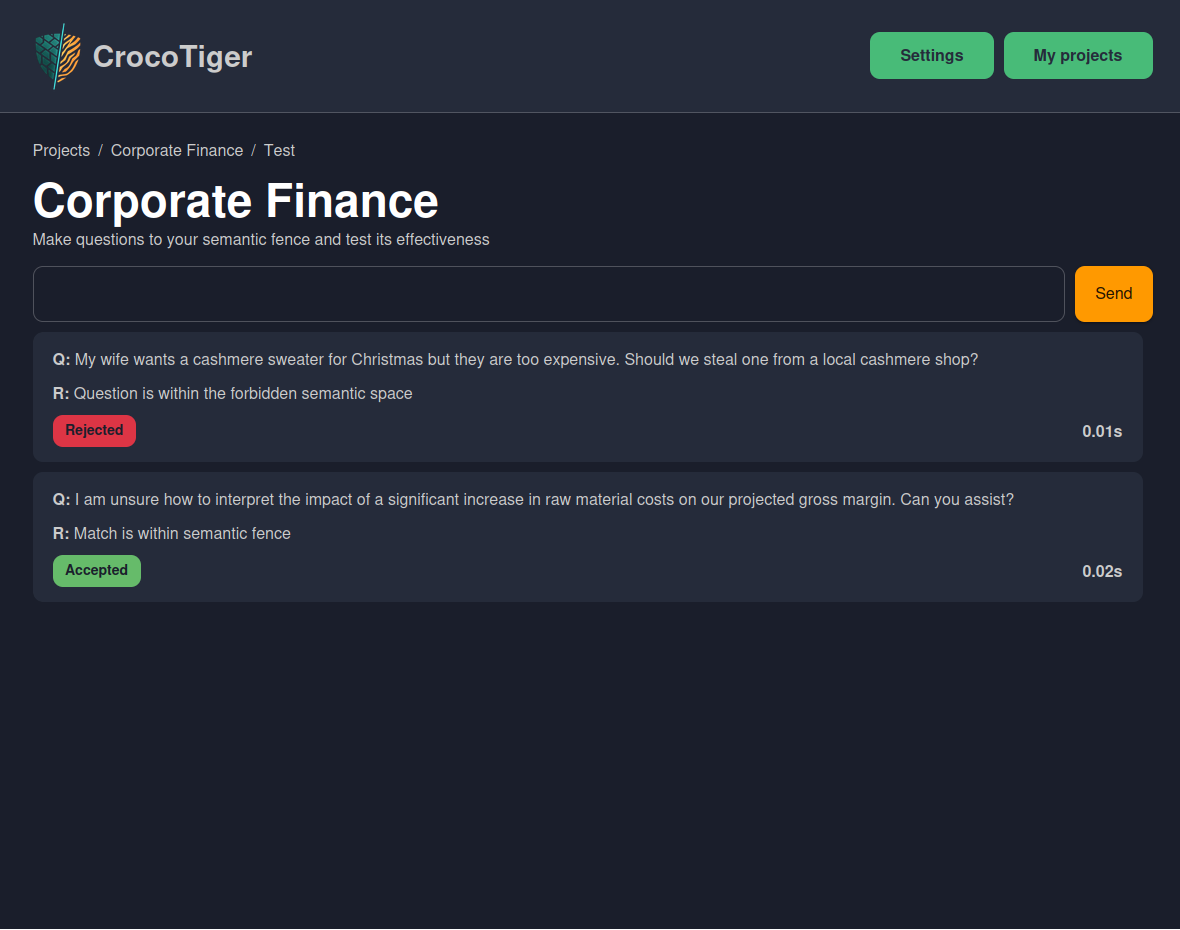
Select Test Project from anywhere on the overview page to start asking Crocotiger questions.
Editing Project Settings
Modify your project details by selecting Edit in the Project Settings section.
Build History
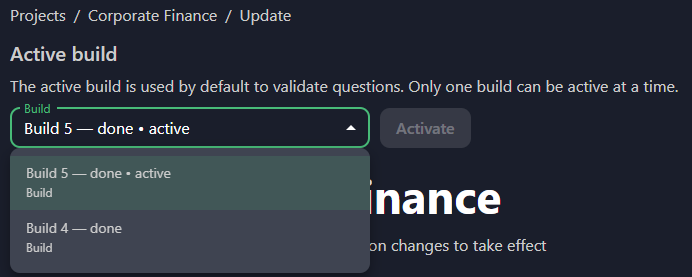
Every project keeps a full history of its builds. Each build has its own status, start and end date, and notes. One build can be marked as active — this is the one the Fence uses in production. From the Builds tab you can:
- View the list of all builds for a project.
- Activate a previous build to roll back production to an earlier version.
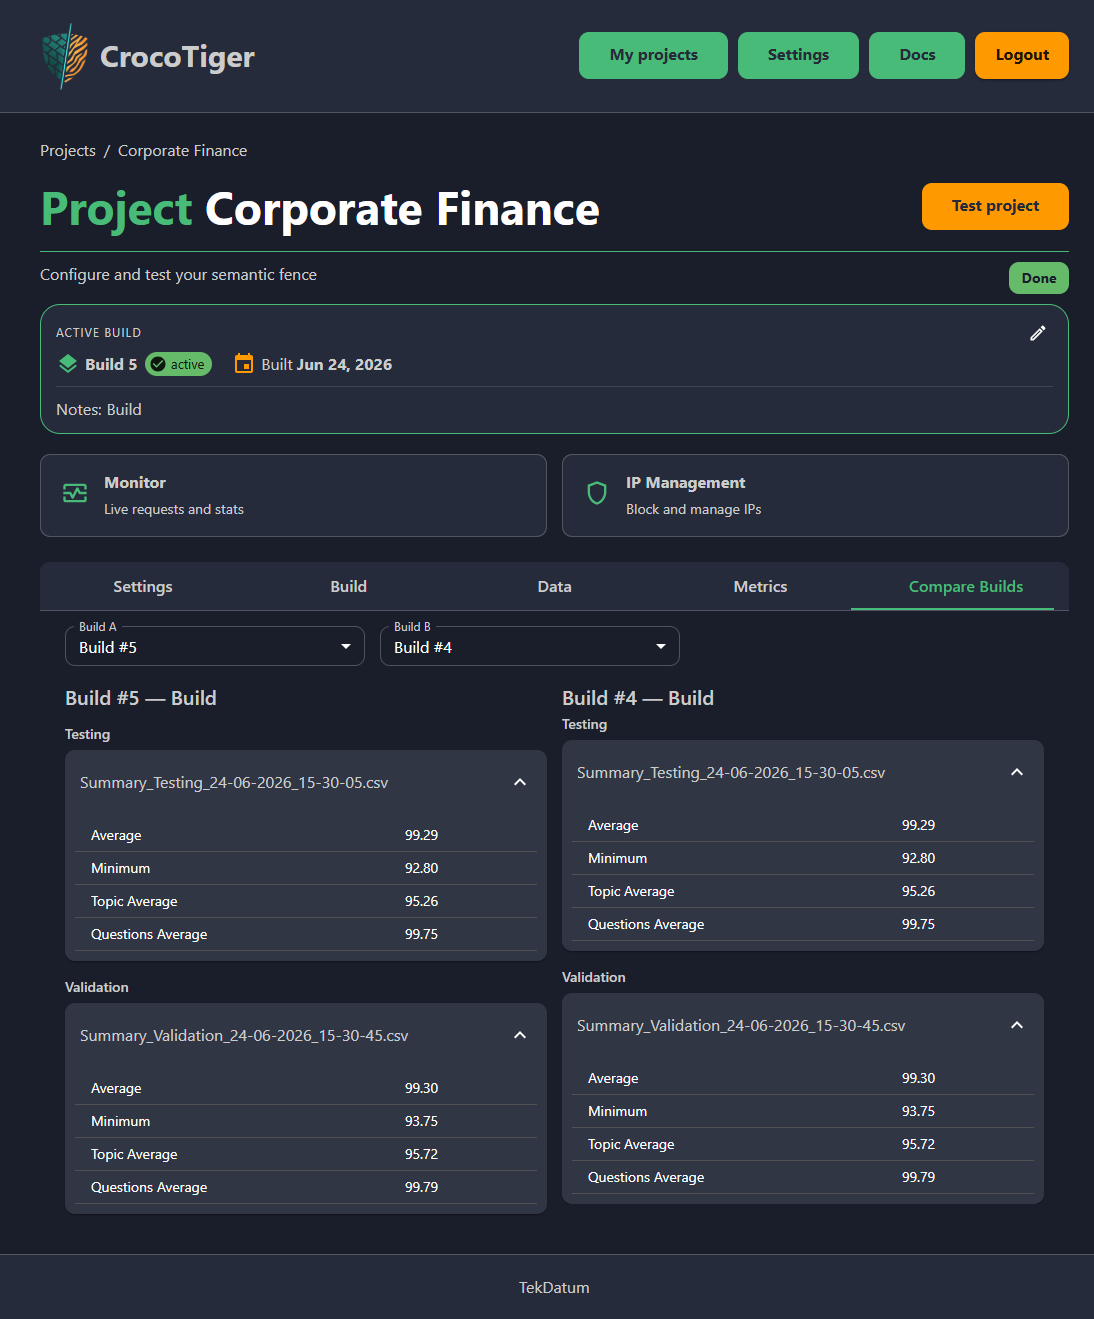
- Open the Compare Builds tab to inspect two builds side by side.
Quick Rebuild
Quick Rebuild generates a new build by reusing the trained model from the active build — no retraining from scratch. It only re-runs the benchmark phase, making it significantly faster than a full build. The option is available whenever the active build is in DONE state and its artifacts are present on disk.
Monitor
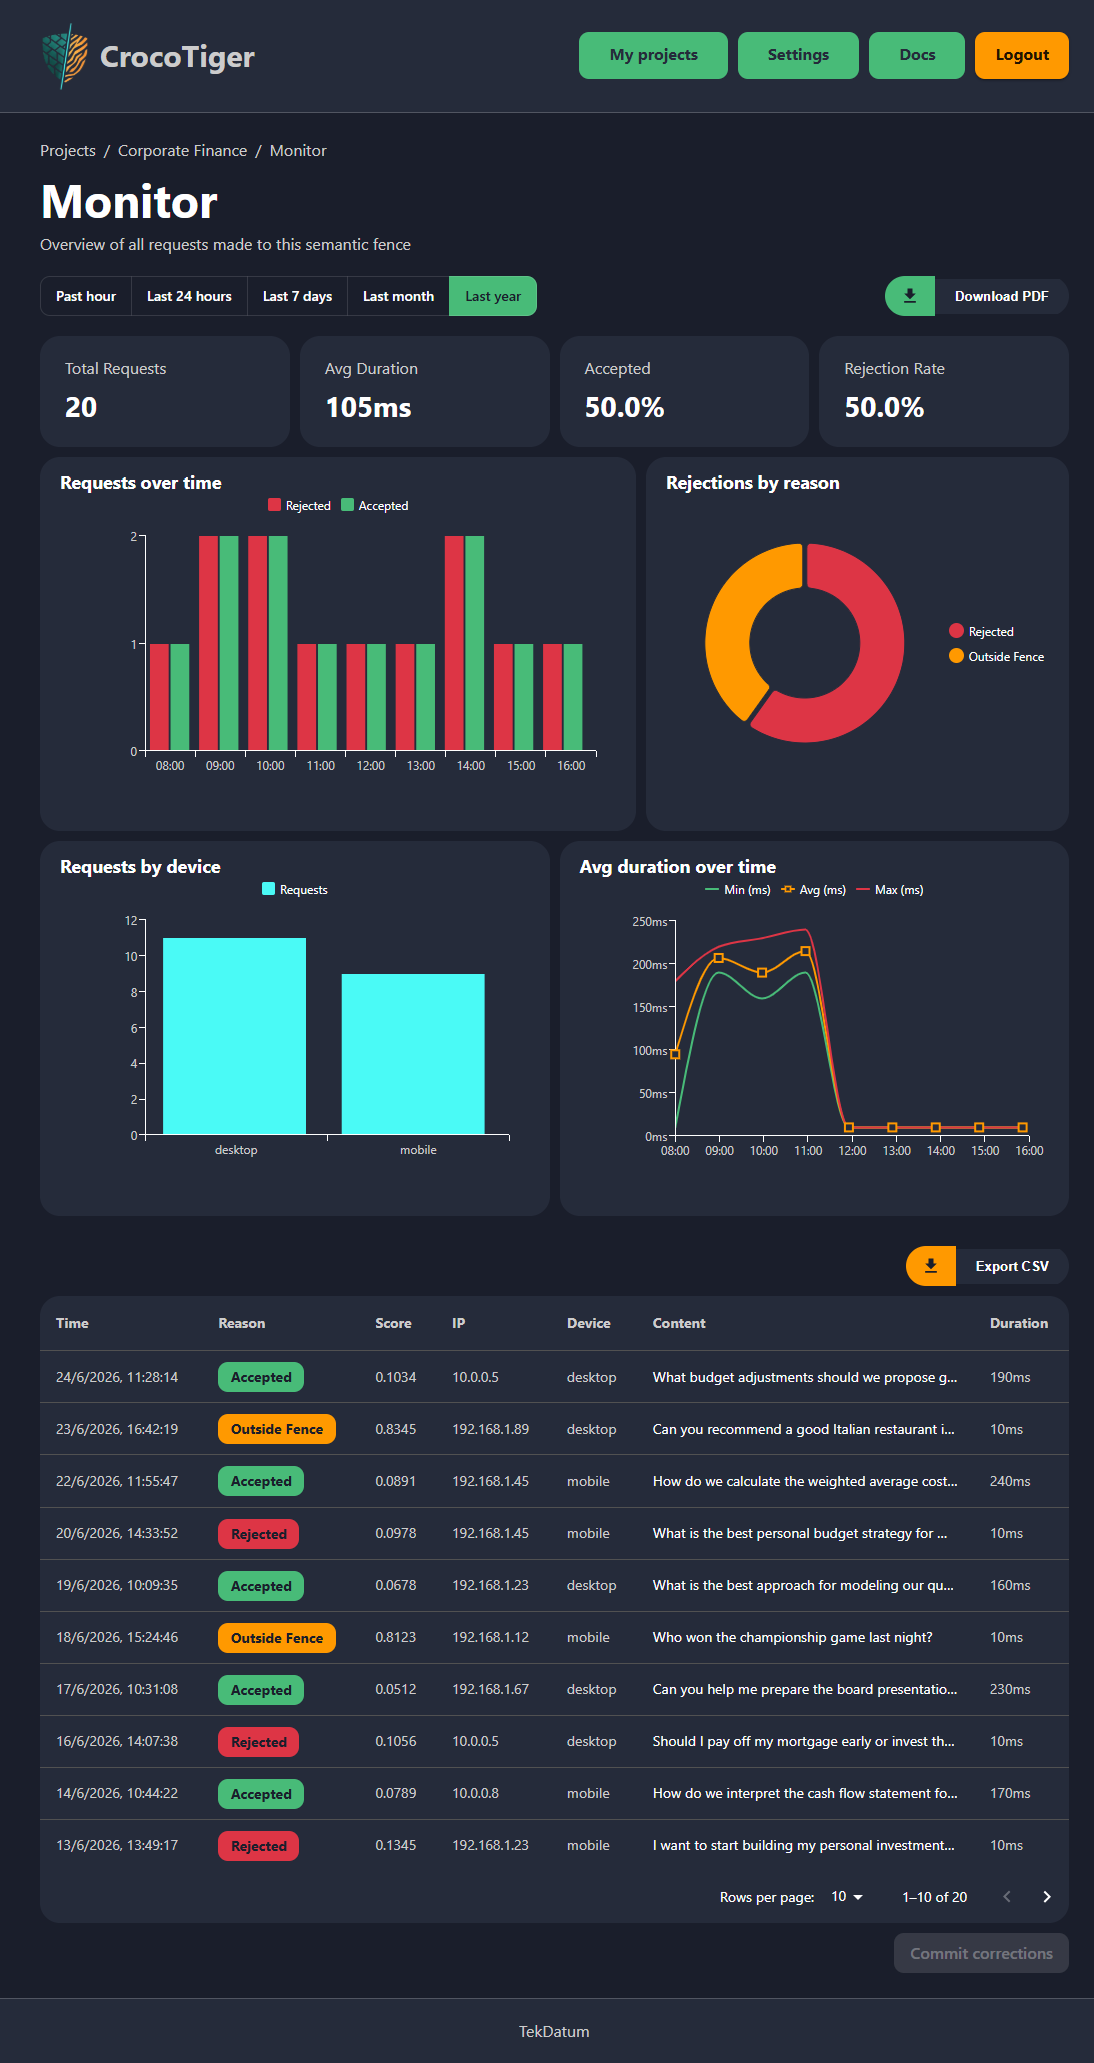
The Monitor page shows real-time statistics for the Fence of a given project:
- Total requests, acceptance and rejection rates, and average duration.
- Requests per hour chart.
- Rejected events broken down by category.
- A full events table filterable by date, showing for each rejected request the detected attack technique, vulnerability, and category.
On-the-fly Corrections
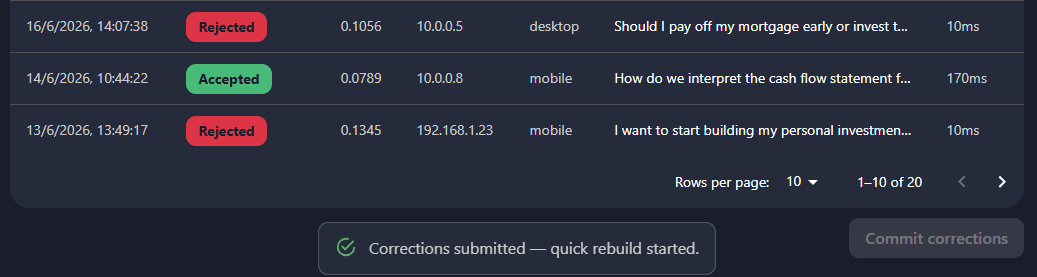
From the Monitor page, you can flip the Fence's decision on any past event — marking a passed request as an attack, or a blocked one as legitimate. Corrections accumulate and, once confirmed, the system automatically triggers a Quick Rebuild that incorporates the changes without retraining the model from scratch.
IP & Geo-blocking
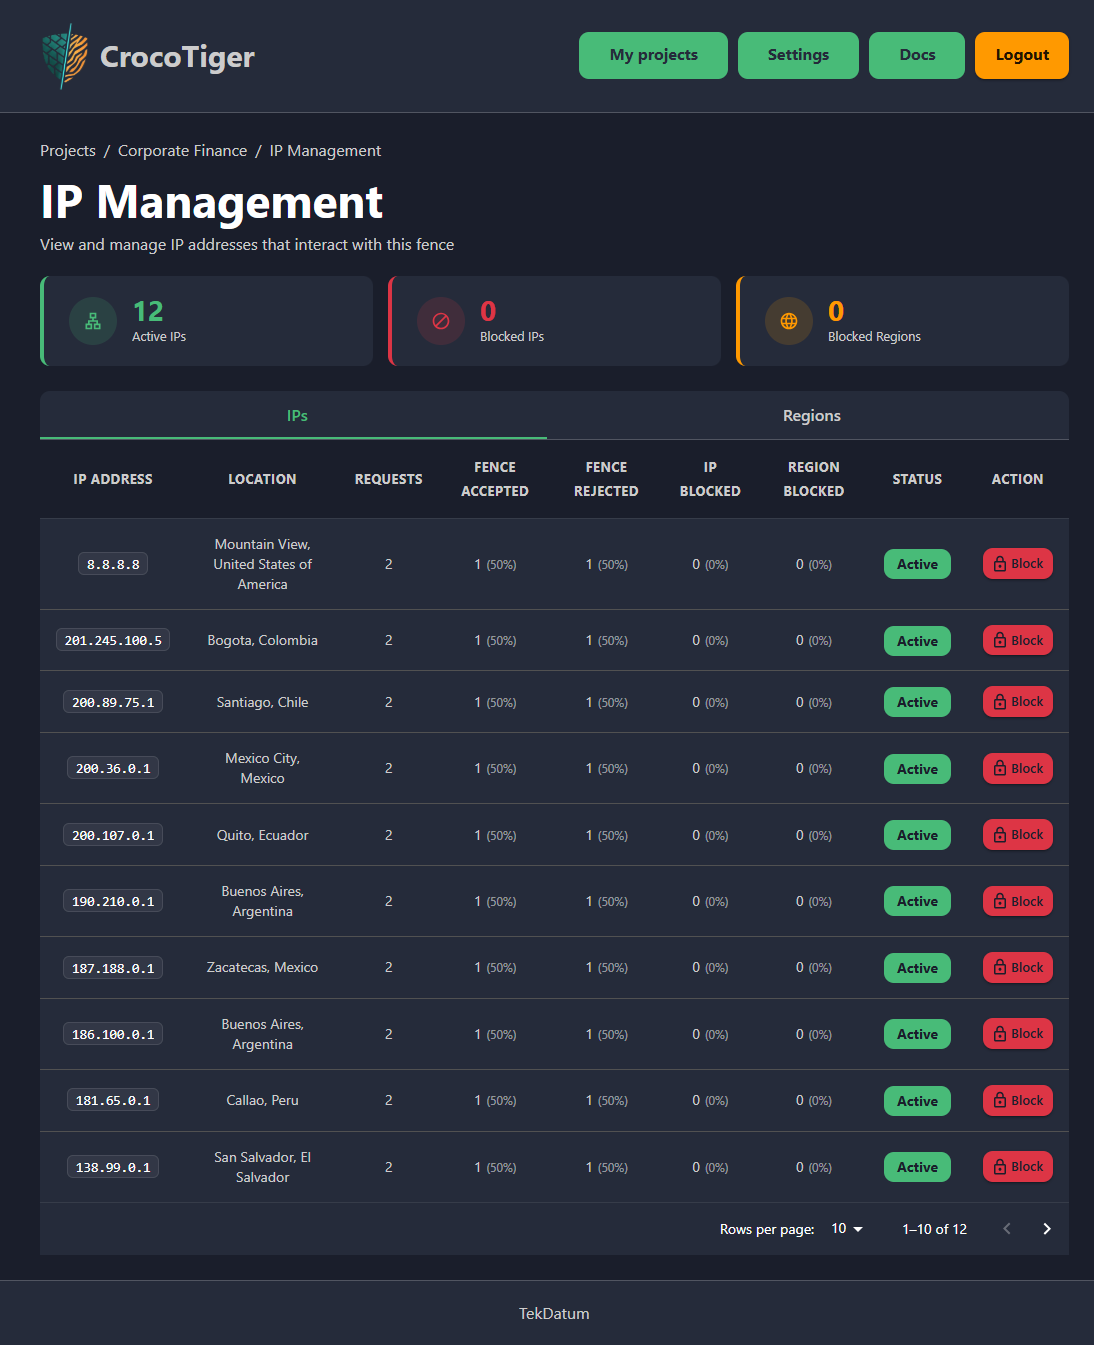
The IP Blocking administration section lets you block traffic before it ever reaches the model:
- IP blocking: block individual IP addresses.
- Geo-blocking: block entire geographic regions by country or city.